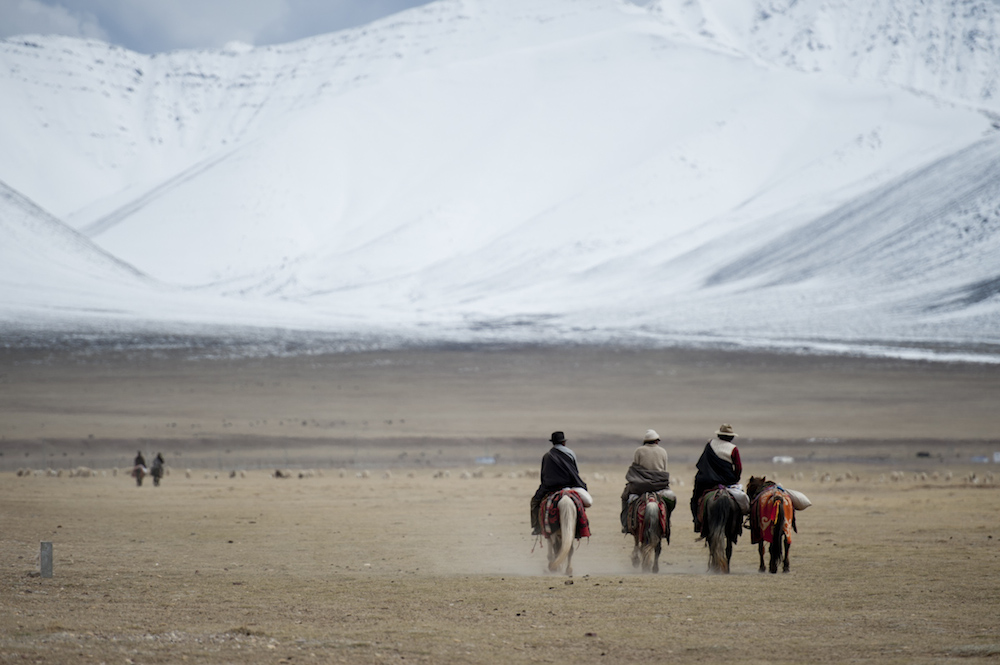
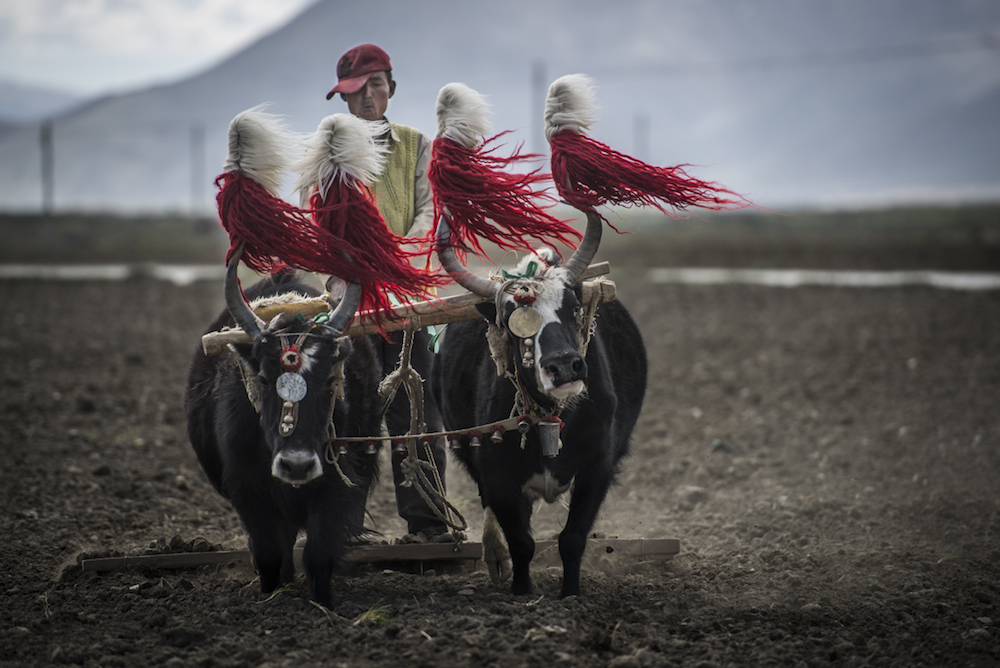
Exciting new sights and fresh, vibrant colours – nothing revives a jaded eye like travel does. Learn how you can make the most of your holiday snaps with our tips for better travel photography…
1. Travel light and pack well
The best camera is one you have with you; if your gear is too heavy, you won’t feel like lugging it to all the wonderful photo opportunities you’ll encounter on your travels (even if you have a car to help, as on our own photography trips). As you pack, be realistic about what you will need and use.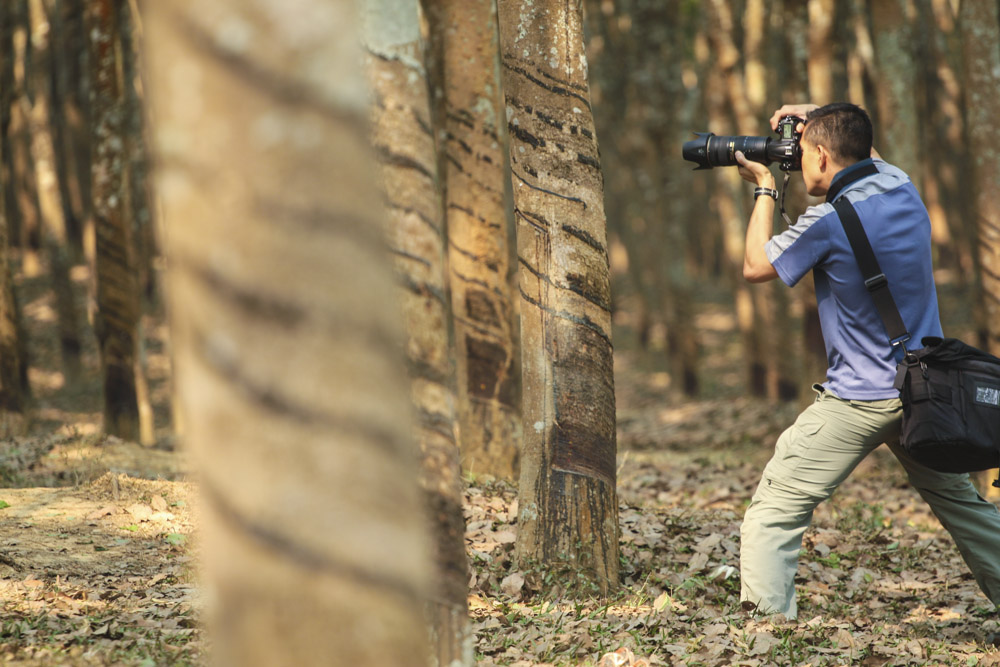
Our photography coach, pro-photographer Ron Yue’s basic travel kit includes a DSLR body and a couple of high-quality lenses (usually a 24-70mm/f2.8 and a 70-200mm/f2.8). He may add in an 85mm/f1.8 or 50mm/f1.4 prime lens if he’s planning to take portraits. (The f2.8 aperture lenses tend to be rather heavy and expensive – non-professionals may prefer the f4.0 lenses, which are significantly smaller and lighter.)

2. Bring back-up
One of the most upsetting photography experiences is losing images, either by not having enough memory available in the first place or via a corrupted memory card that you haven’t backed up. Ron Yue backs up his images to his laptop and an external hard drive each evening. He will delete the images from his memory card only when at least two copies have been made.
Regardless of whether you’re shooting in RAW (not sure what that means? Click here for a helpful explanation or see the end of this piece for Ron’s explanation) or high-quality JPEG, you will need plenty of memory available. Fortunately, memory cards are now inexpensive – and getting cheaper all the time, so it’s easy to pack more than enough!
3. Catch the light
It’s possible to take a good photo in bad light, but it’s easier to take a great photo if the light is on your side. The light just after dawn and just before dusk infuses photographs with warm, golden light, and the low angle of the sun casts wonderful shadows that make just about everything look more interesting and enticing.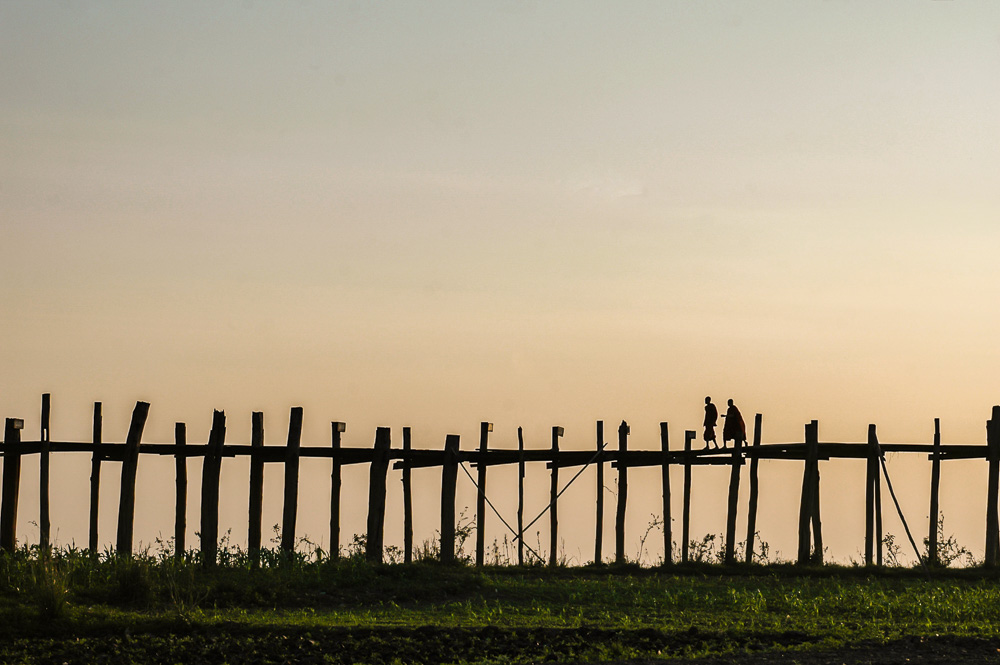
As a bonus, if you’re able to get up early enough, you’ll have the streets to yourself and be able to photograph usually crowded places in atmospheric solitude. Just after dusk is a great time to take “night” shots, when the lights are on, but there is just enough natural light in the sky to balance them.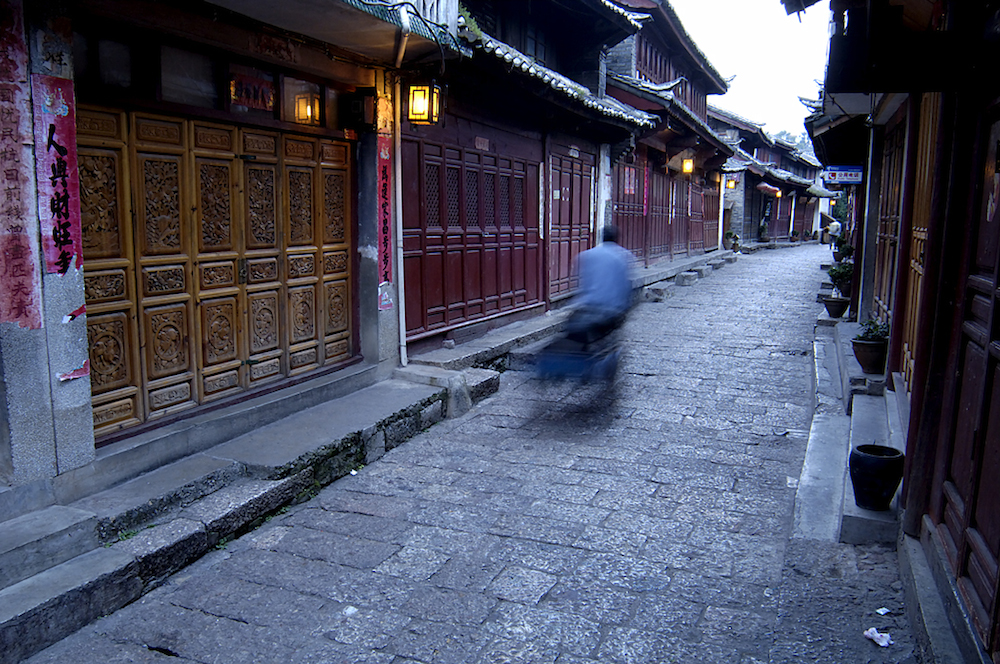
4. Do some desk research
Before you travel, learn more about photogenic spots in your destination. When you arrive, spend some time scouting locations – you might discover that there’s a festival happening nearby, or that the afternoon sun catches a golden temple roof pleasingly at 5.38pm.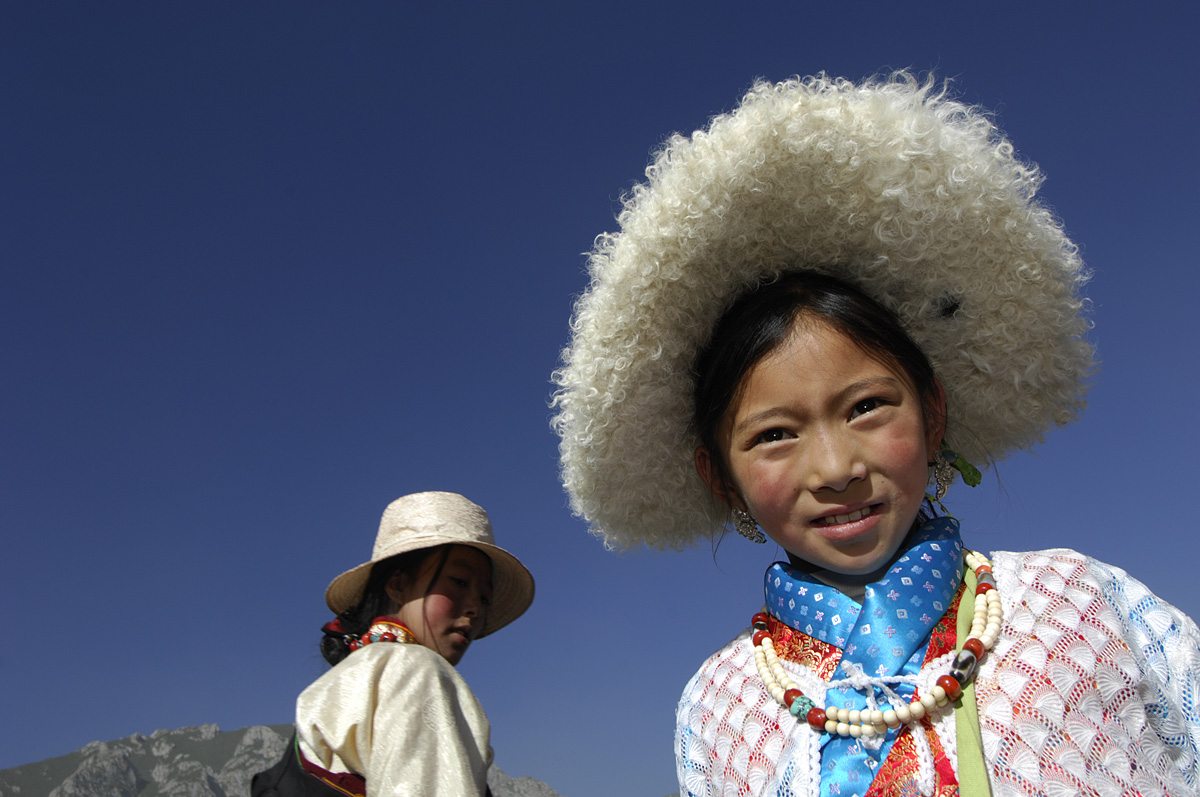
If you won’t have enough time to scout, then helpful apps such as The Photographer’s Ephemeris, which shows how light falls anywhere on the planet, can take some of the guesswork out of your preparation. Similarly, taking a few notes at the end of each day can help to enrich your photography and remind you of details you would otherwise forget.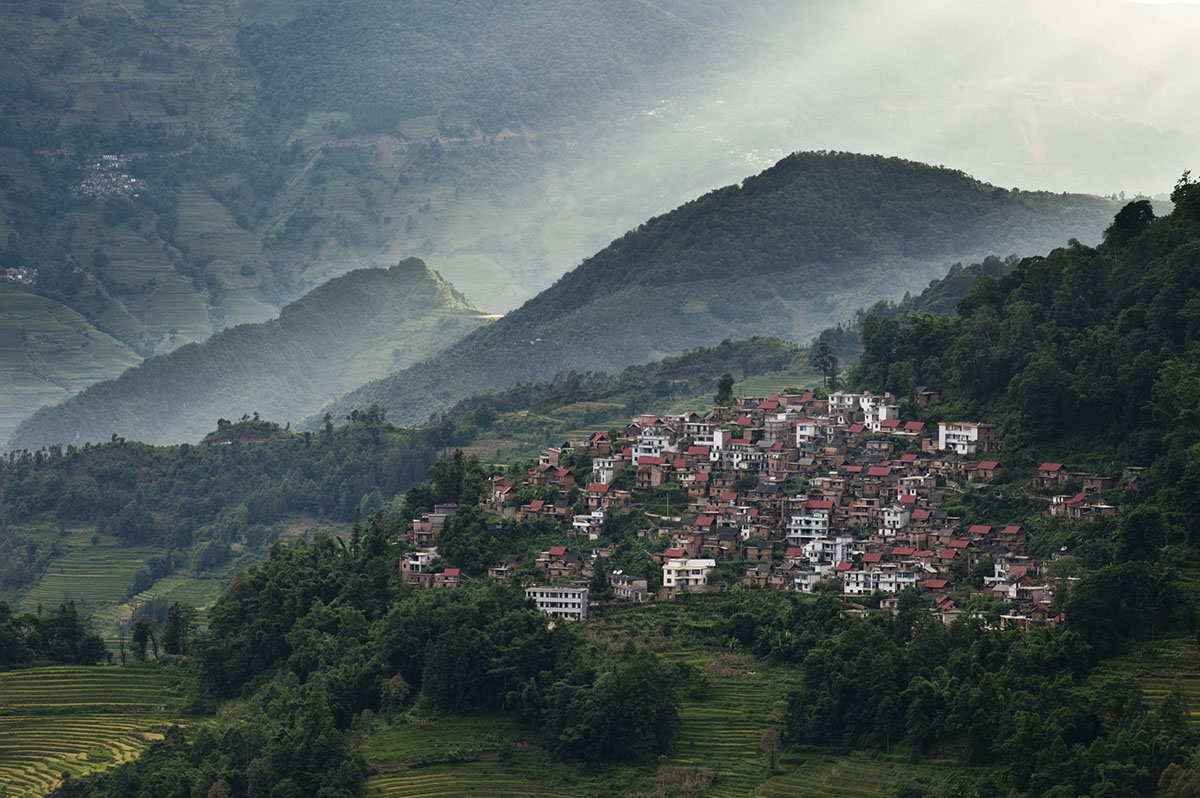
5. Ask for portraits
Taking portraits is difficult for many aspiring travel photographers. Do you ask permission and risk rejection? Or sneak a telephoto shot from metres away? Ron’s recommendation is to judge from the situation. If your subject is focussed on what they’re doing, and the activity is part of what you hope to capture in your photograph, then it’s best not to interrupt – just take a photo or two as unobtrusively as you can.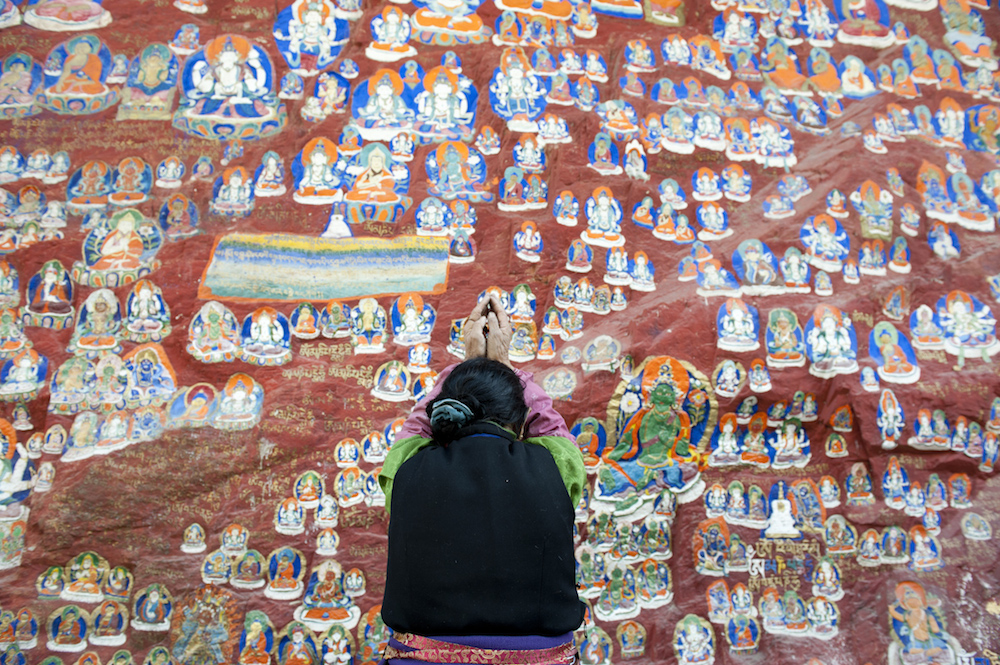
The rest of the time, it’s best to ask permission before you lift your lens. If they do say “No”, just smile, thank them and move on. If they nod their head in agreement, then you’re good to go – sharing the initial shots on your LCD screen is a great way to help your subject relax, as is a little clowning around!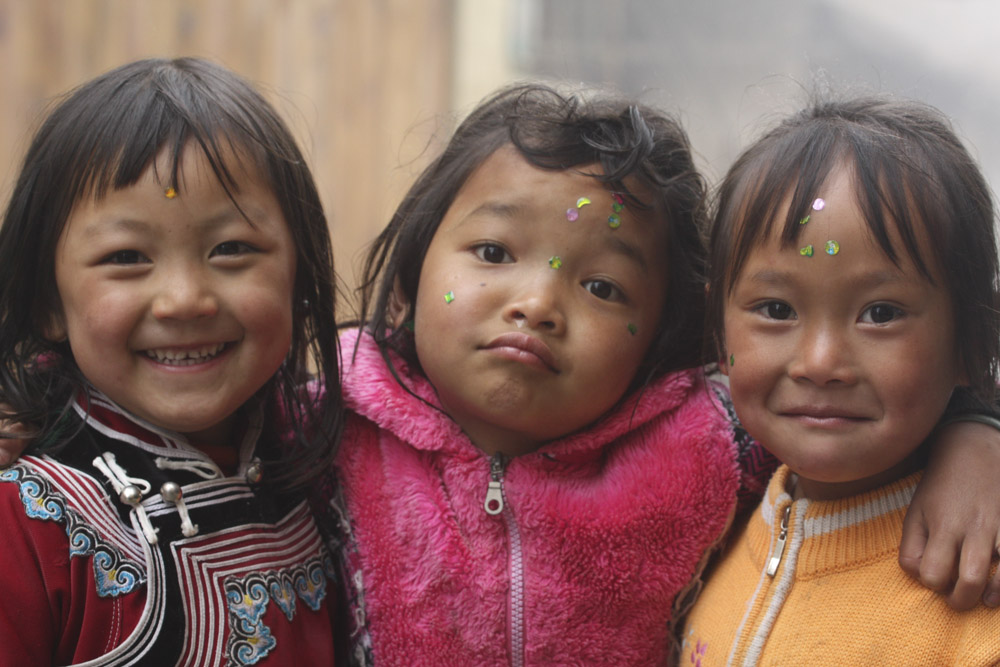
6. Cameras are not eyes
When we look at a scene, our eyes (usually!) focus on one thing at a time. A camera doesn’t have this ability, instead showing everything with equal prominence – one common reason why photographs often don’t look as good as the real-life scene did. The photo below is an example of this – what was the picture meant to show?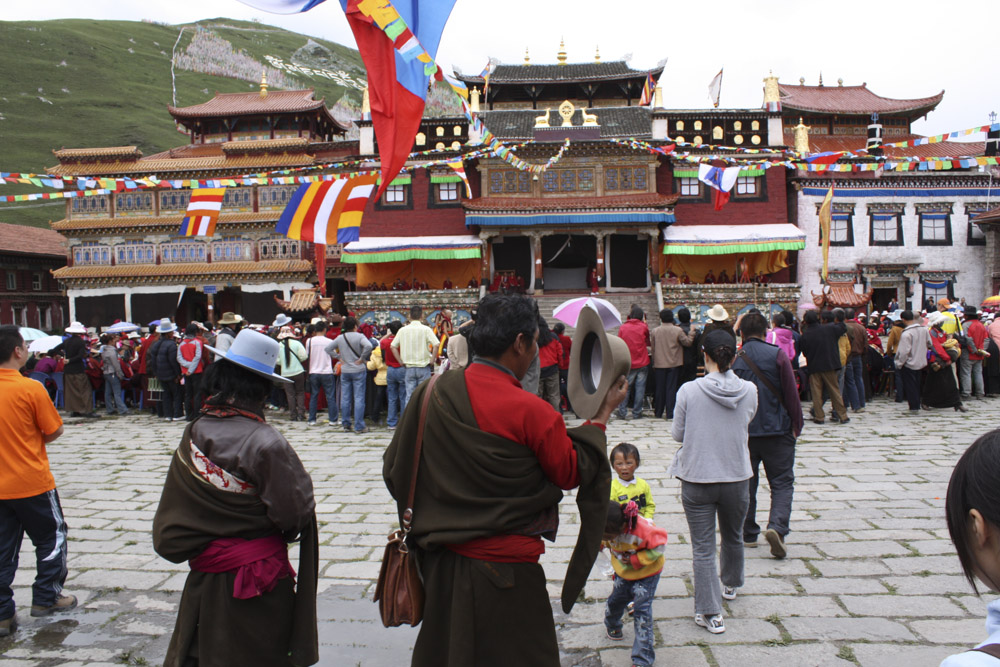
As a photographer, you need to work out how to highlight the most interesting thing in your scene. Can you set it off against a contrasting background? Can you blur out the background detail by using a wider aperture? How can you simplify the scene? Ron Yue’s tip is to try and keep all the elements in your photograph relevant to the feeling you’re trying to capture.
7. Compose with care
Post-processing can work wonders, but it can’t turn a poorly composed photograph into a good one – at least not without spending a lot of tiresome time staring at a screen. As Ron says “Certain post-processing techniques are easy to learn and quick to do, because often you simply need to adjust information that already exists within the image. To change a badly composed image into a well-composed one effectively requires building an entirely new photograph!”
There are some great resources online to help improve the composition of your photographs (this article and this one, for example). But here are a few quick tips from Ron: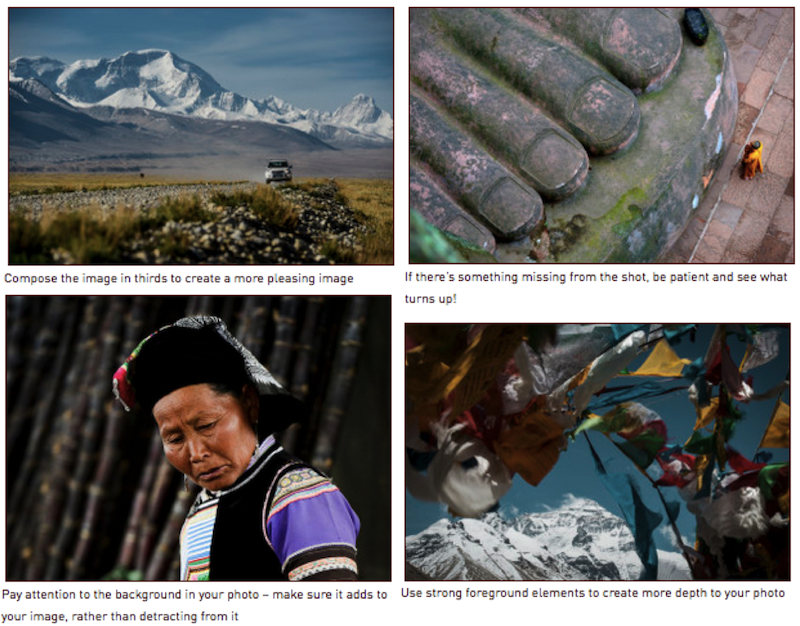
8. Think outside the box
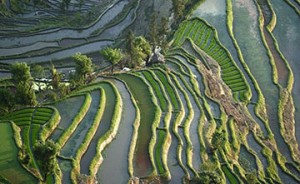
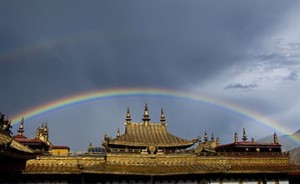
While certain iconic photos – the first rays of sun glittering across Yuanyang’s rice terraces, the Potala Palace from the summit of Chagpo Ri – capture the essence of a place, don’t be afraid to get creative.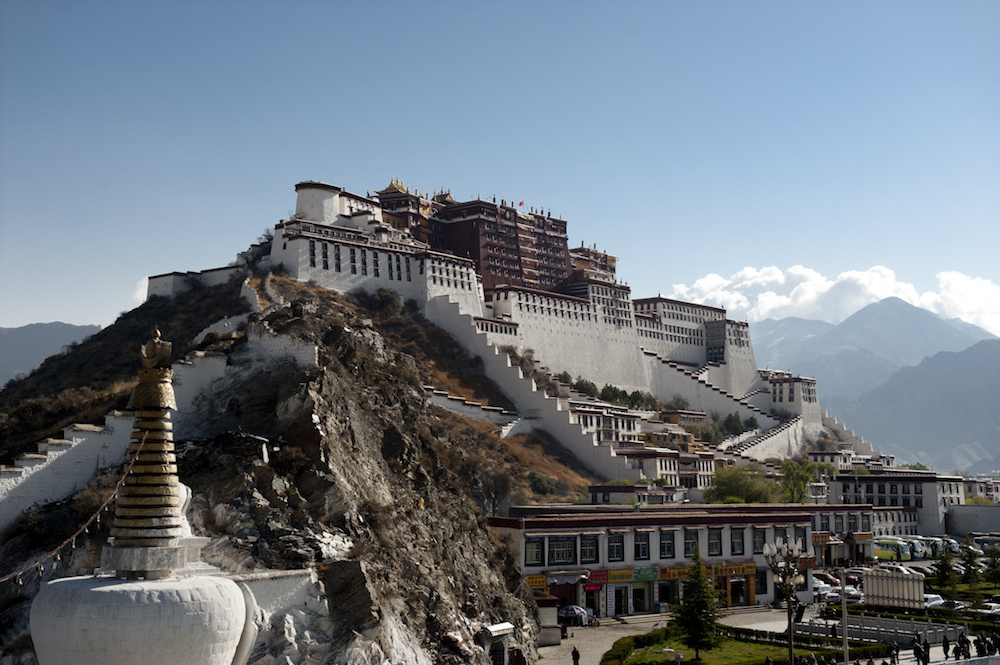
Spend some time looking for classic shots, if that is what interests you, but do leave time to explore other angles (don’t just shoot from eye level for example) and see where your camera takes you. Part of the joy of photography is that it helps you to see your surroundings with new eyes – you might find yourself appreciating things you would otherwise have walked straight past.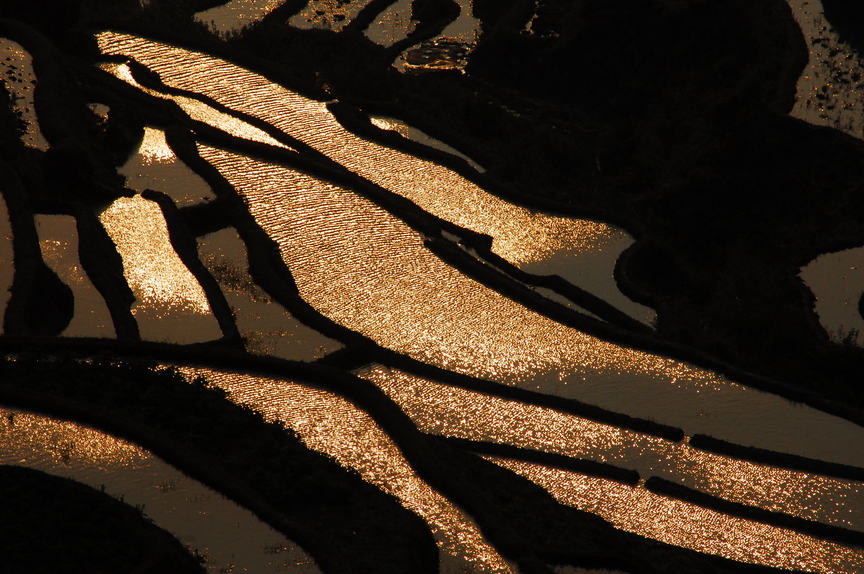
9. Use your images well
You may not be planning to use your photographs professionally, but that doesn’t mean they deserve to gather digital dust on a hard drive somewhere. Print your best shots, turn them into a calendar, or use them as screensavers – either way, you’ll be reminded of your travels each time you see them.
As we say of our photography journeys, we hope that the above tips help you to return home with photographs as beautiful as your memories. Bon voyage!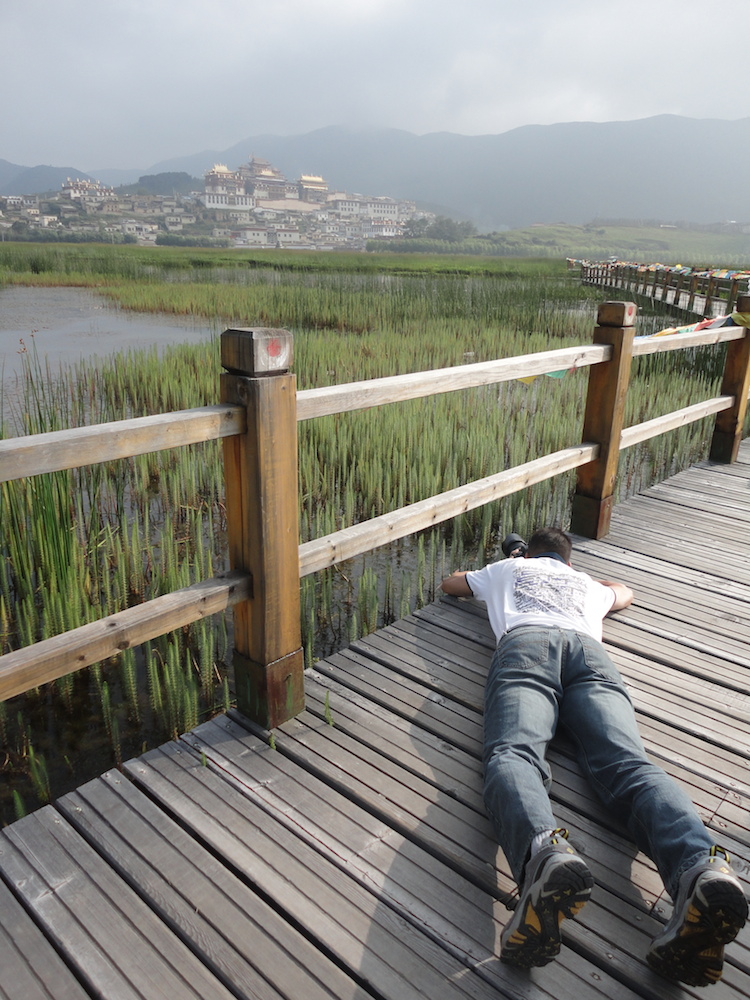
Ron on RAW vs. JPEG
“I shoot in RAW format since it offers the highest quality and most flexibility for any post processing I may be doing for the images. A RAW image is essentially an unprocessed image from your camera sensor. If you are not familiar with post processing or find the size of RAW files too cumbersome, you can photograph in JPEG format. Most mid-range digital cameras now produce very high-quality JPEG files. In fact, JPEG files often look better than RAW files before processing is applied since the processing of JPEG files has already been done within the camera itself. If your camera has different levels of JPEG settings, I would recommend choosing a highest quality setting.
Learn more from Ron Yue on our photography journeys…
| Family Adventures: Travel Photography in Yunnan 8 or 10 day journey Kunming – Xizhou – Shaxi – Tacheng – Shangri-La – Lijiang View our Journey Dossier here Travel Dates: Oct 13 – 22, 2018 |
 |
|
Yunnan through a Lens: Red Earth & Fields of Gold |
 |
| Tibet through a Lens: Lhasa to Mount Everest 12-day journey Kunming – Lhasa – Gyantse – Tingri – Mt.Everest Base Camp – Shigatse – Damxung – Lhasa View our Journey Dossier here Travel Dates: Jun 07 – 18, 2018 |
 |
|
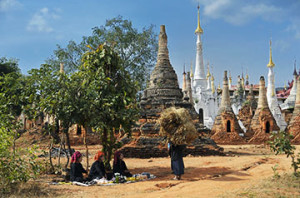
Burma through a Lens: A Photography Journey |
 |
